Understanding Cut-and-Sew: An OEM’s Technical Guide
Cut-and-sew manufacturing is the backbone of custom apparel production for OEMs (Original Equipment Manufacturers). Unlike cut-make-trim (CMT) models where fabric is supplied by the client, cut-and-sew involves the OEM sourcing, cutting, and assembling fabric into finished garments. This guide provides a technical breakdown of the process, key considerations, and best practices for OEMs looking to optimize quality, cost, and scalability.
1. The Cut-and-Sew Workflow
(See our related guide: Technical Challenges in Combining Denim with Knits.)
The process begins with pattern making and grading. OEMs use CAD software to create digital patterns that account for fabric grain, stretch, and seam allowances. Once approved, the fabric is laid in multiple plies (up to 100 layers for stable materials) and cut using either:
- Die cutting – for high-volume, simple shapes with steel rule dies.
- Computer-controlled knife cutting – for complex geometries and low-to-mid volumes, offering precision within 0.5 mm.
- Laser cutting – for synthetic fabrics, sealing edges to prevent fraying.
After cutting, pieces are bundled and sent to sewing stations. Assembly follows a predetermined sequence: first attaching linings, then main panels, sleeves, collars, and finally closures (zippers, buttons, snaps). Each station uses specialized machines—overlock, coverstitch, or flatbed—depending on seam type.
2. Fabric Selection and Yield Optimization
Fabric choice directly impacts cut-and-sew efficiency. Wovens (cotton, denim) have minimal stretch and require precise grain alignment. Knits (jersey, fleece) need careful handling to avoid distortion during cutting. OEMs must calculate marker efficiency—the percentage of fabric used versus waste. A typical marker efficiency of 85–92% is achievable with nested patterns. Factors that reduce yield include:
- Pattern piece orientation (e.g., nap, one-way prints).
- Fabric width variations (often 1–2% narrower than nominal).
- Defects in the fabric roll (repair or discard).
For OEMs, investing in automated spreading and cutting systems reduces waste by 3–5% compared to manual methods.
3. Sewing Quality Control
Seam integrity is critical. Key parameters include:
Read more about Choosing the Right Stitching f for additional context.
- Stitch density – typically 8–12 stitches per inch (SPI) for wovens, 10–14 SPI for knits.
- Thread tension – balanced to prevent puckering or loose seams.
- Seam type – overlock (serged) for stretch, flat-felled for durability, or French seams for luxury finishes.
In-process inspection at each sewing station catches defects early. Common issues include skipped stitches, uneven hems, and misaligned panels. AQL (Acceptable Quality Limit) sampling (e.g., 2.5% major defects) is standard for final inspection.
4. Production Scalability and Lead Times
Cut-and-sew OEMs must balance speed with quality. Typical lead times range from 4–8 weeks for small batches (500–2,000 units) to 10–14 weeks for large runs (10,000+ units). Factors affecting lead time include:
- Fabric procurement (2–4 weeks for stock fabrics, 6–10 weeks for custom weaves/knits).
- Pattern and sample approval (1–2 weeks).
- Cutting and sewing capacity (dependent on labor and machine availability).
To scale efficiently, OEMs often use modular production lines where teams of 8–12 operators handle complete garment assembly, reducing work-in-progress inventory and improving throughput.
5. Cost Drivers in Cut-and-Sew
Understanding cost breakdown helps OEMs price competitively. Typical cost distribution for a cut-and-sew garment:
— as detailed in our article on The Difference Between Fully Fashioned and Cut-and-Sew.
- Fabric – 40–60% of total cost.
- Cutting labor – 5–10%.
- Sewing labor – 20–30%.
- Trims and packaging – 5–10%.
- Overhead and profit – 10–15%.
Automation (e.g., robotic cutting, automated pocket setters) reduces labor cost but requires higher upfront investment. For low-volume runs, manual methods remain cost-effective.
6. Common Technical Challenges
- Fabric shrinkage – Pre-shrinking or relaxing fabric before cutting prevents post-production size changes.
- Stripe/plaid matching – Requires additional fabric (5–10% more) and skilled cutting to align patterns at seams.
- Bulk production vs. sample consistency – Samples are often hand-sewn; bulk production must replicate the same tension and stitch quality using industrial machines.
- Thread color matching – Dye lots vary; always order thread from the same batch as fabric.
7. Technology Integration for OEMs
Modern cut-and-sew OEMs leverage:
- PLM (Product Lifecycle Management) software for tracking specs, revisions, and approvals.
- ERP systems for inventory and production scheduling.
- Automated cutting systems (e.g., Gerber, Lectra) for precision and speed.
- RFID or barcode tracking for real-time work-in-progress visibility.
These tools reduce errors, improve traceability, and enable faster response to design changes.
Frequently Asked Questions
What is the minimum order quantity (MOQ) for cut-and-sew?
MOQs vary by OEM. For simple styles (e.g., t-shirts), MOQs start at 200–500 units per color/size. For complex garments (jackets, tailored pants), MOQs are typically 1,000+ units due to pattern and setup costs.
For a deeper dive, see Quality Control Protocols for Large-Scale Apparel Exports.
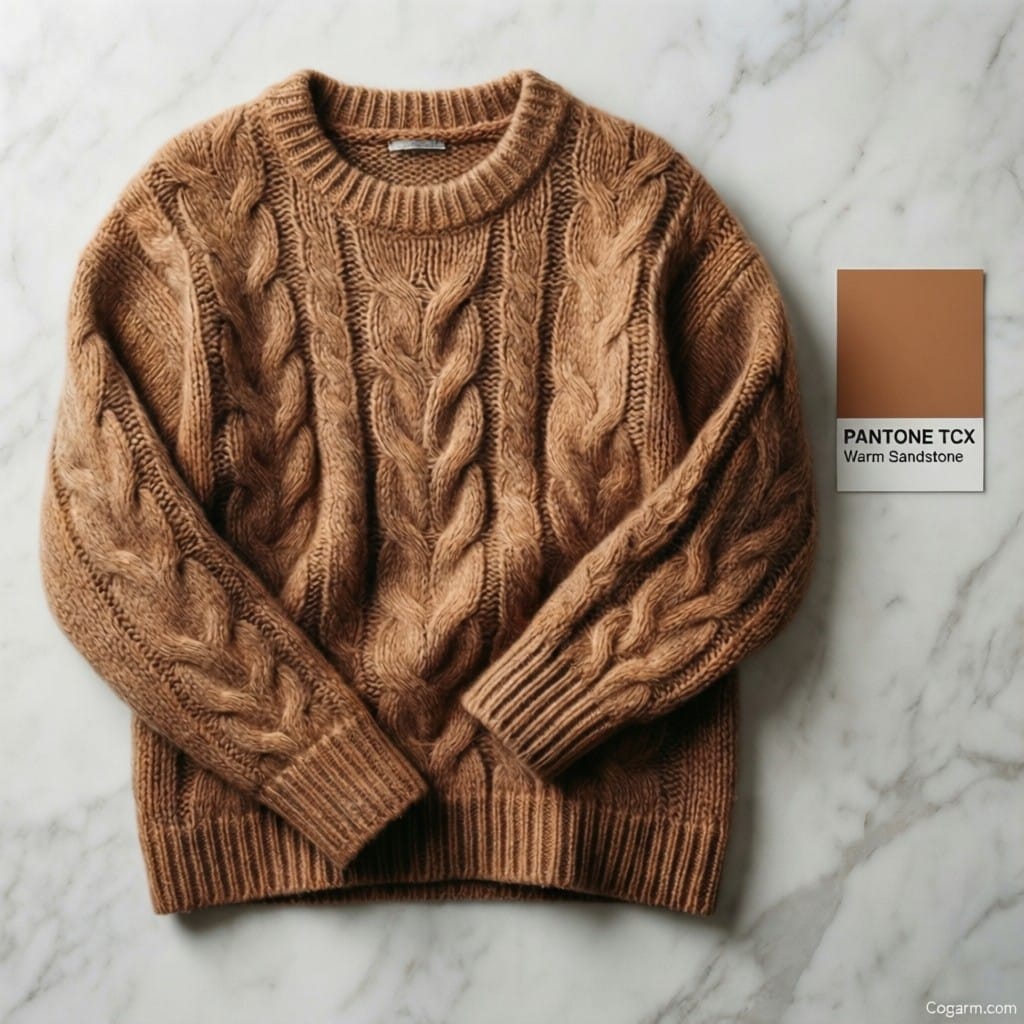
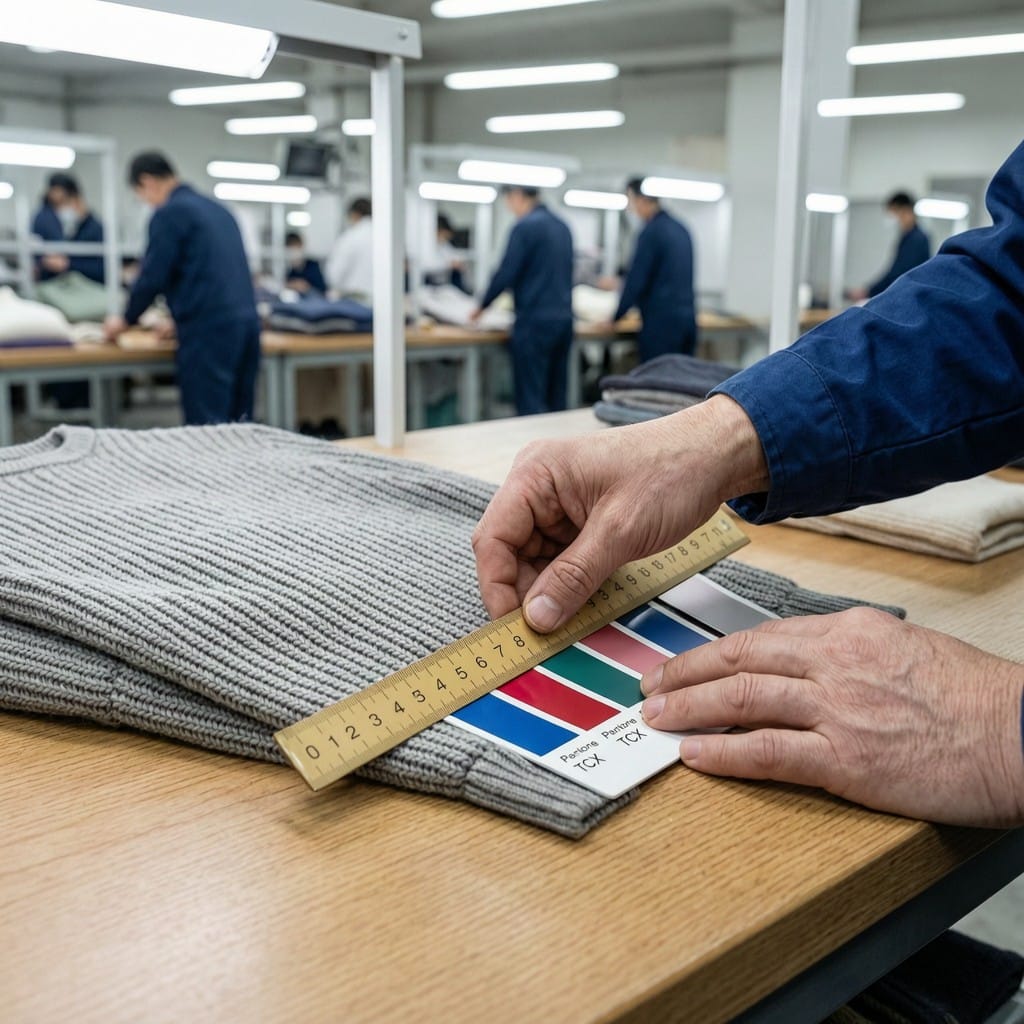
How do I ensure color consistency across production runs?
Request a lab dip or strike-off from the fabric mill before bulk production. Use a spectrophotometer to measure delta E (color difference) against the standard. Keep fabric rolls from the same dye lot for the entire order.
What is the typical defect rate in cut-and-sew?
Industry standard is 2–4% defects at final inspection. Higher rates indicate issues in fabric quality, cutting accuracy, or sewing operator training. A well-controlled process can achieve under 1.5%.
This guide is intended for OEMs and production managers. For specific technical support or to discuss your project requirements, contact Cogarm.com.
